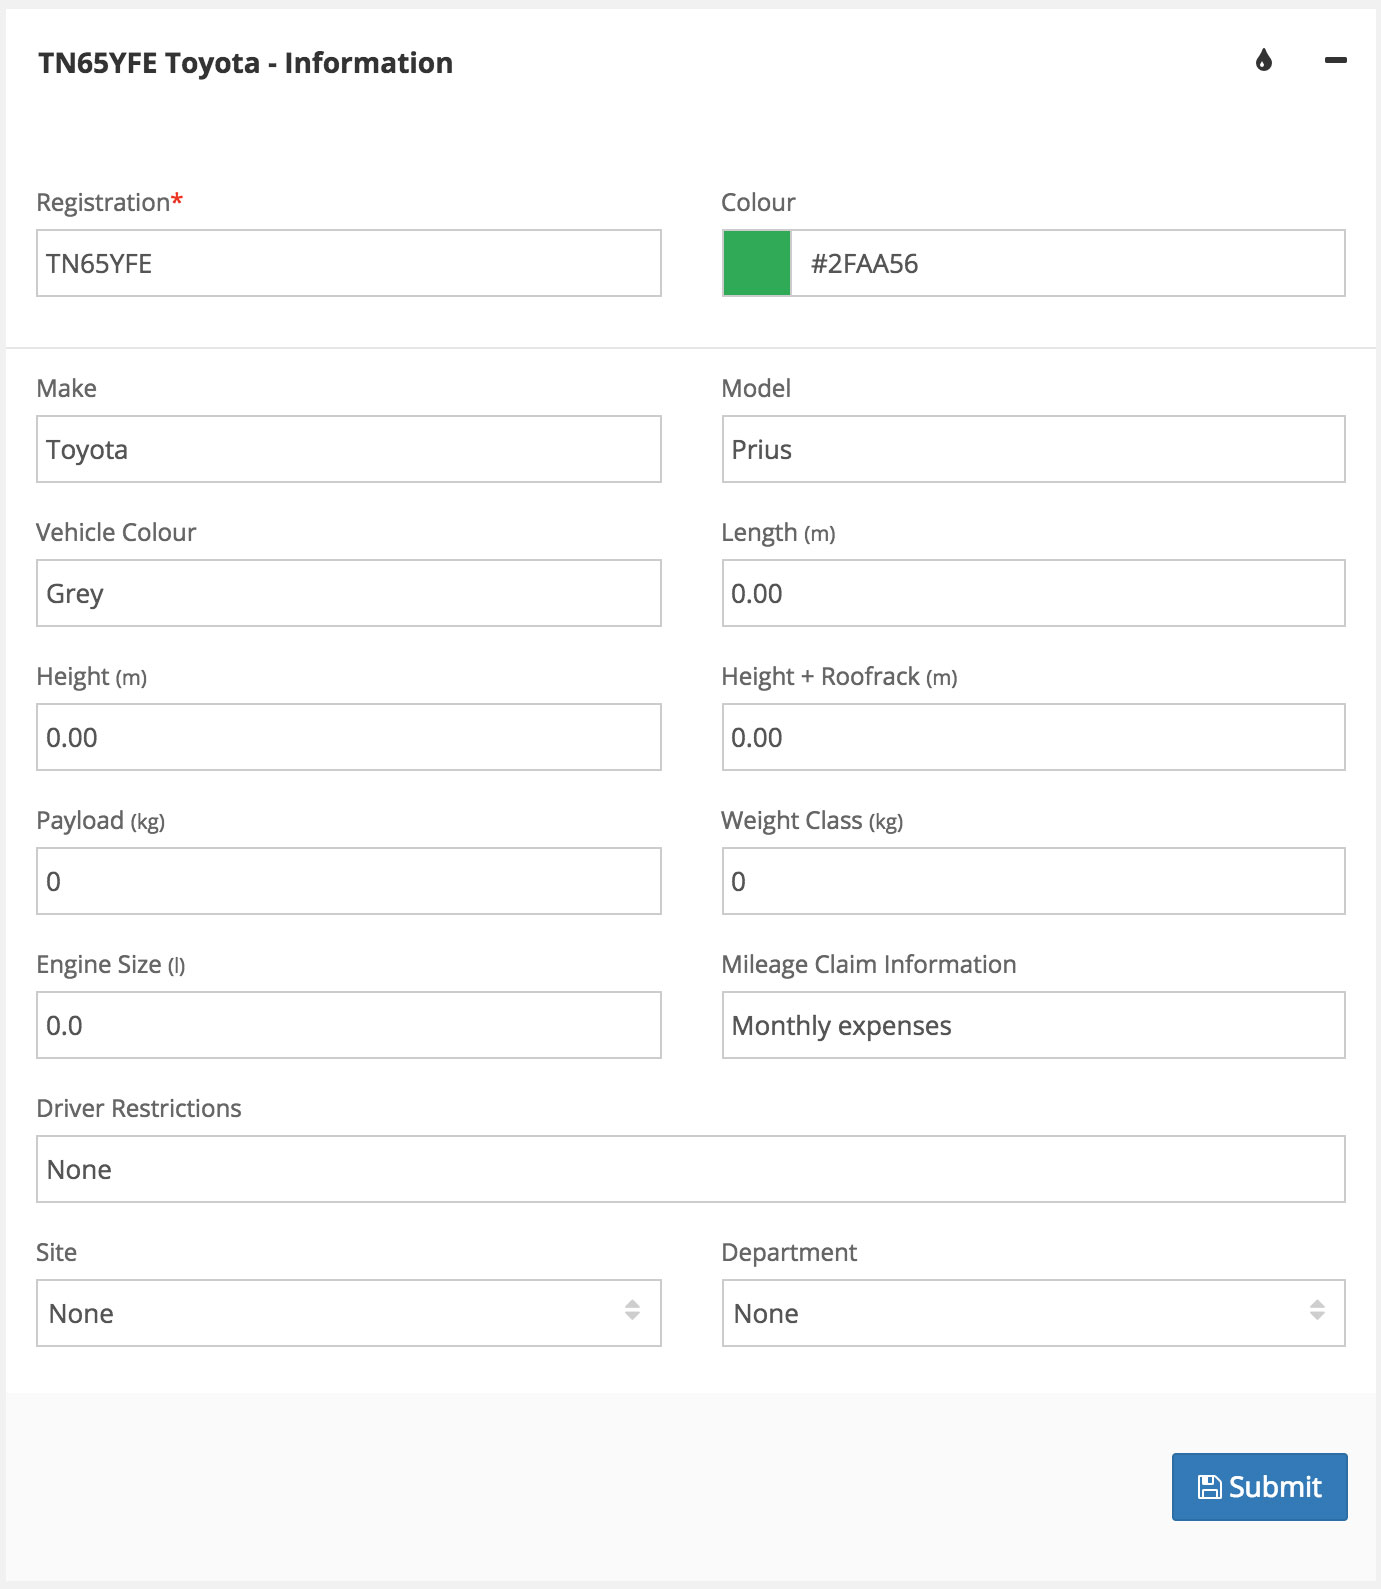
Once you have filled out the initial information about the vehicle, you are taken to the vehicle details page. Below is a break down of each pane on the vehicle details page. The 1st pane is the vehicle information pane that you filled out in part 1 lesson of Adding & Editing A Vehicle.
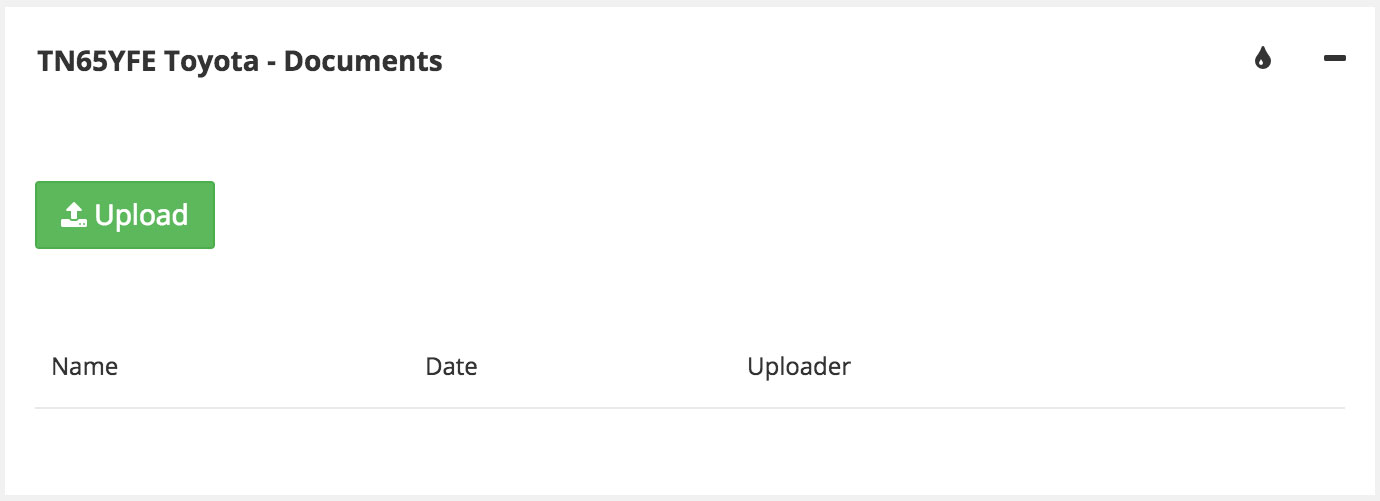
Please refer to the File Storage lessons if you are unfamiliar with the file storage feature within Alpaka. The lessons can be found here. With vehicle documents, you can attach any related document to the vehicle such as tax, receipts, insurance etc.
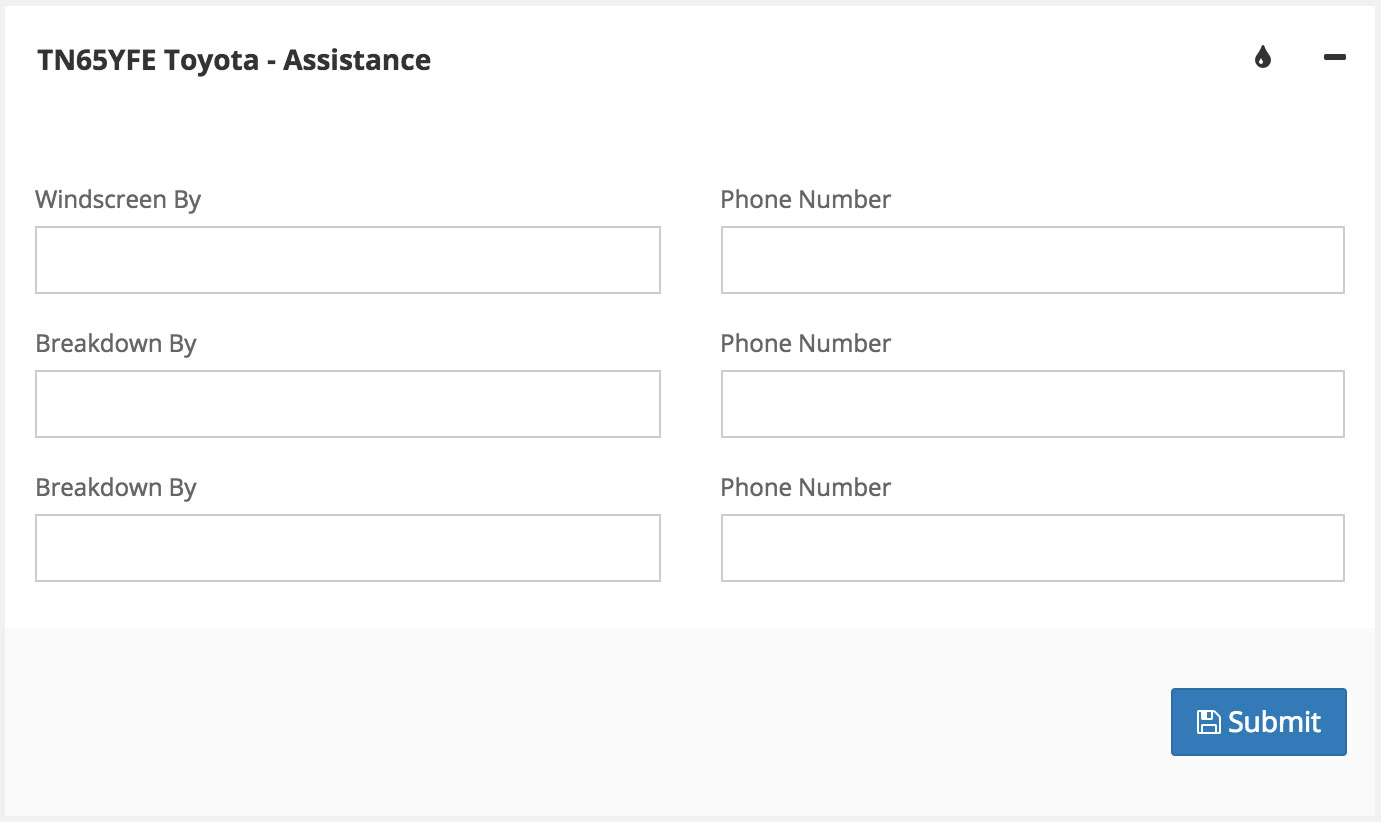
Vehicle assistance: Here you can enter any assistance details related to the vehicle such as windscreen replacement and breakdown assistance.
Vehicle notes: Here you can add any addition notes about the vehicle such as and defects you have spotted.

Vehicle specification: In this pane you can specify wether the vehicle has any of the below extras. If there are features that are not listed in the specification then the notes pane is handy for listing them there.

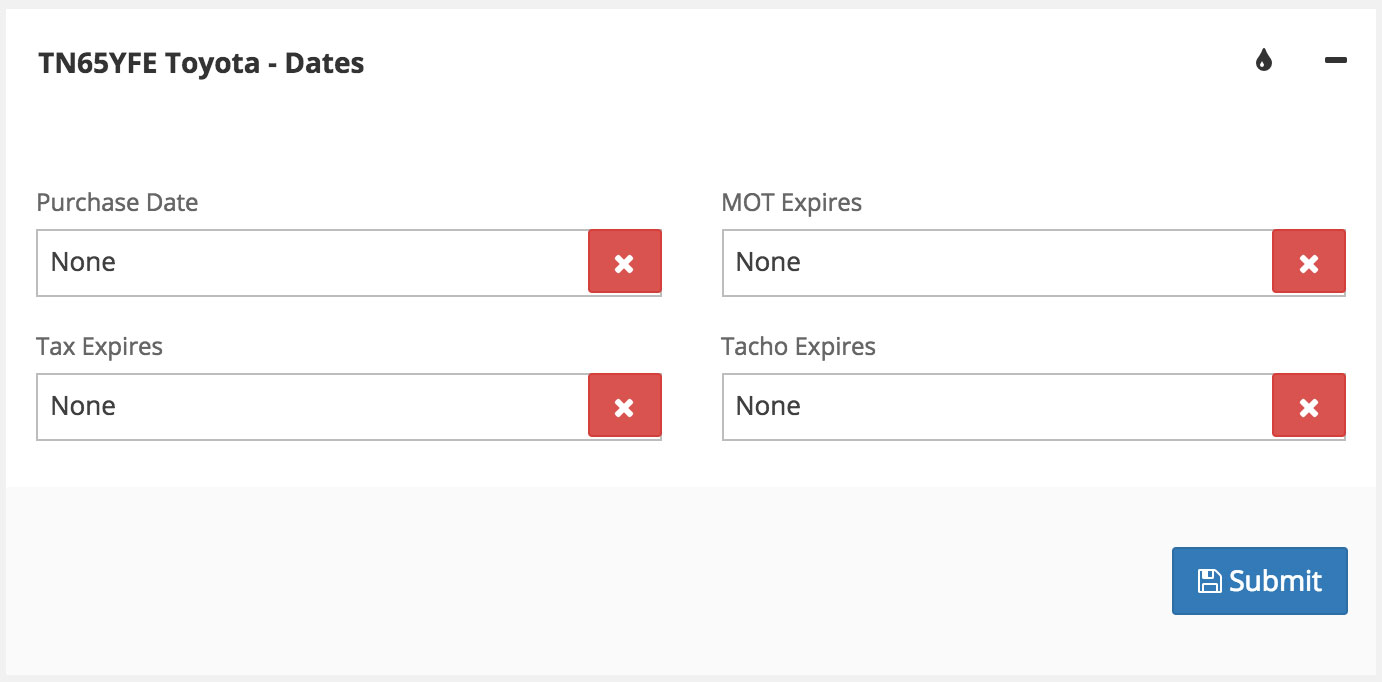
Vehicle dates: Here you can add the purchase date of the vehicle and dates where the MOT, tax and tacho expires.
Vehicle tags: Please refer to the Tags lesson on how to create and apply tags within Alpaka. The Tags lesson can be found here.
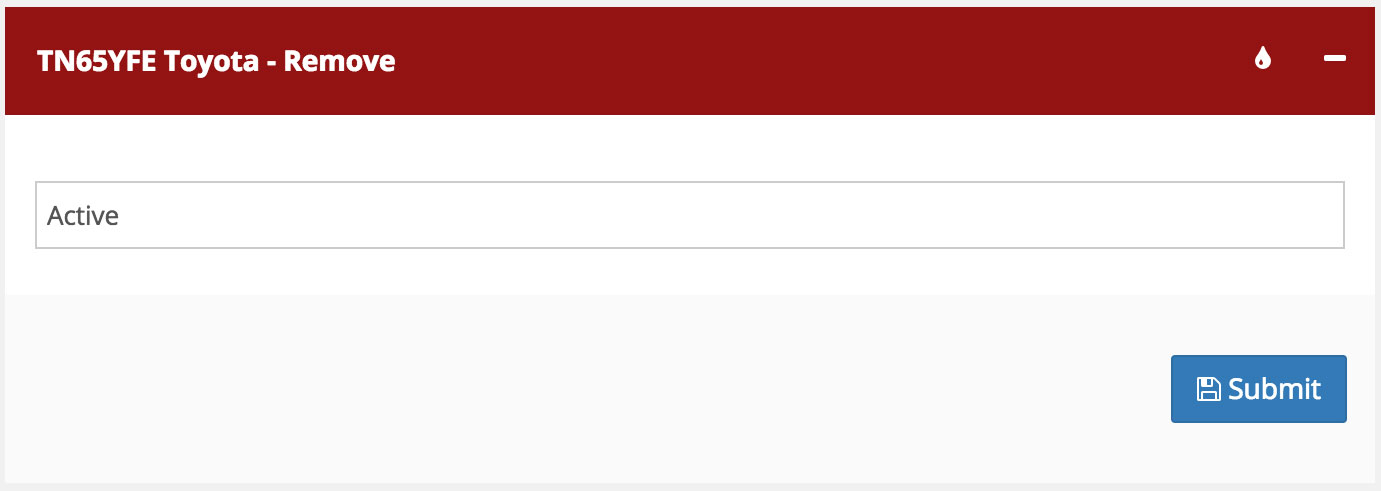
Vehicle remove: In this pane you can make a vehicle inactive so that it does not appear in e.g. lists to apply to a scheduled event. As like other features within Alpaka, vehicles cannot be deleted because of historical data is associated with the vehicle itself.