
Workflow is used to approve an event in the Schedule such as an employee requesting annual leave or booking an event that requires a managers approval.
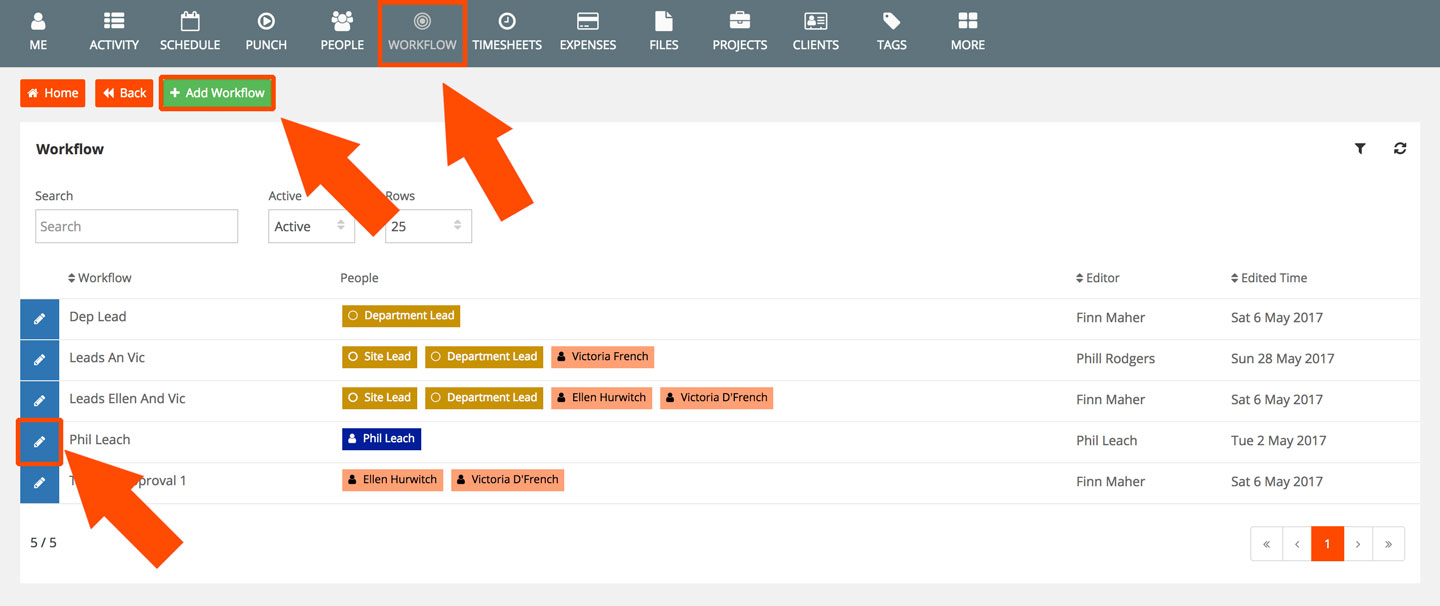
In the navigation select WORKFLOW. You can add a new Workflow by clicking '+Add Workflow' or edit an existing Workflow by clicking the pencil icon next to the Workflows name.
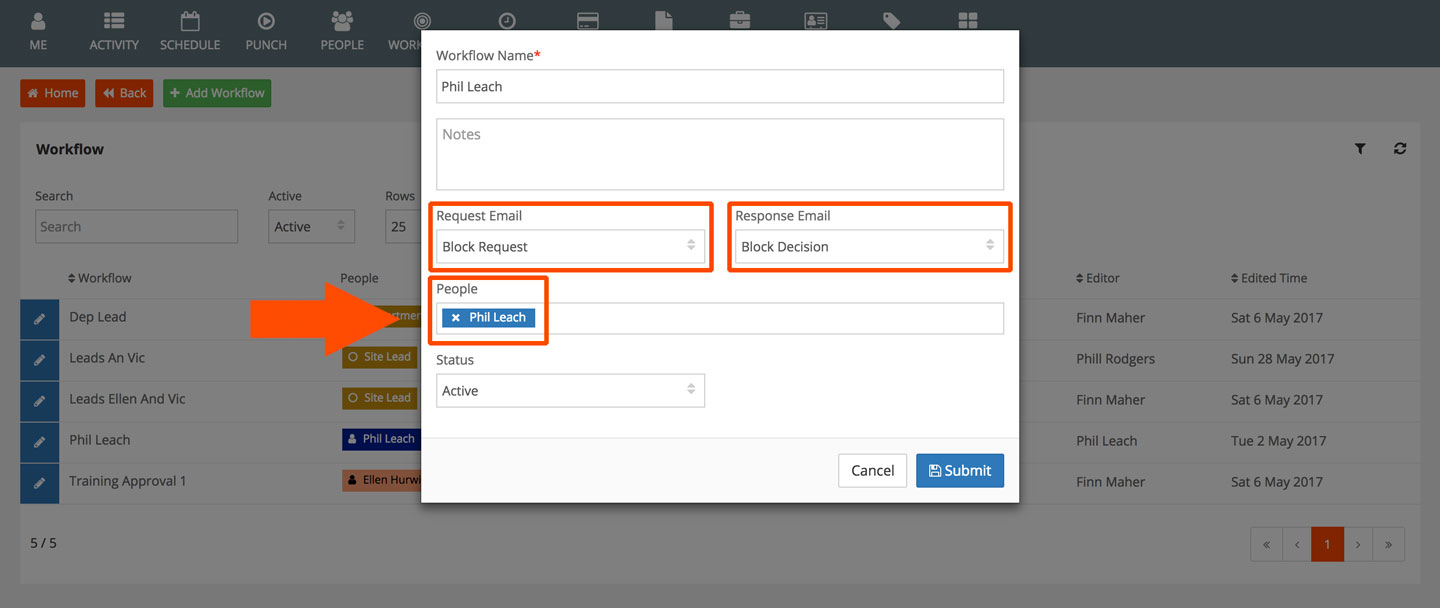
Give the Workflow a Name, select a Request Email, a Decision Email, select a Team Member as the Default Approval and click Submit. *Multiple people can be attached to a Workflow, after an initial person has been added, click inside the form and pick another person from the list.
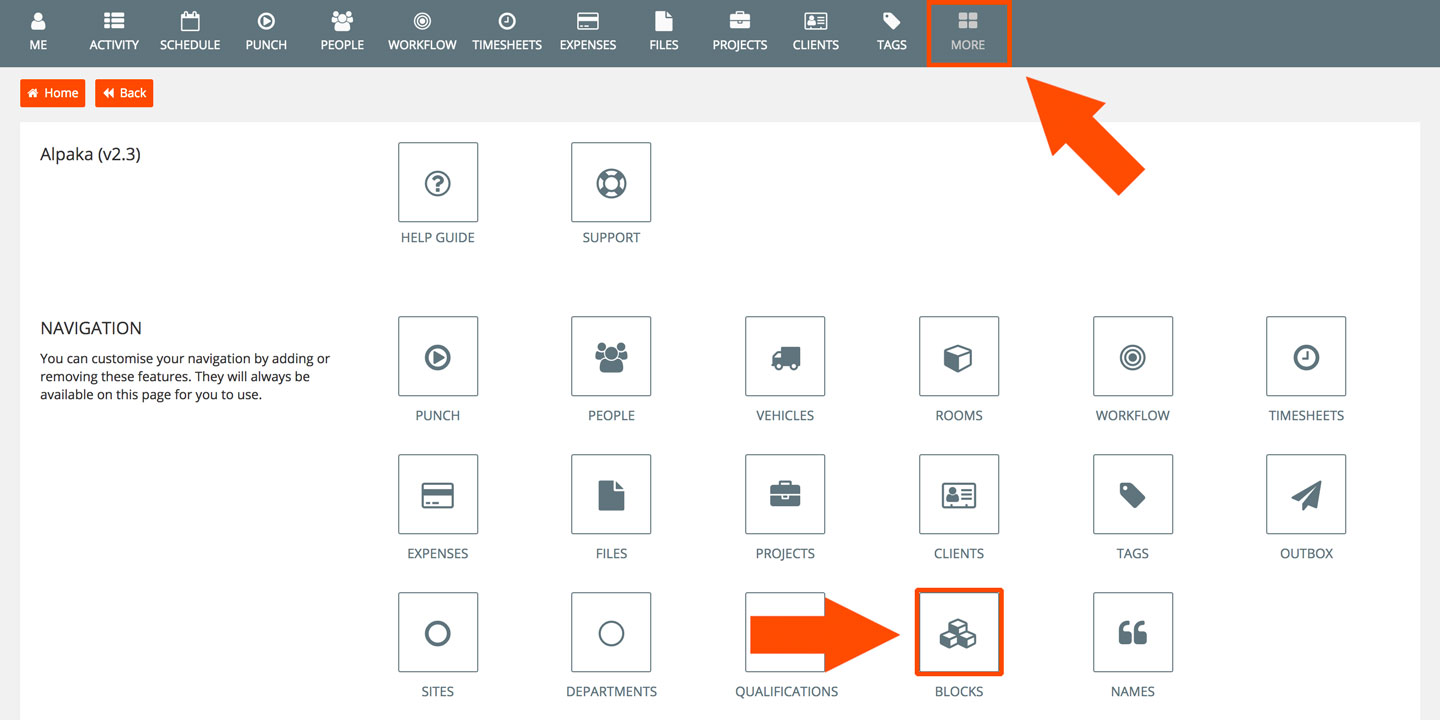
Click on the MORE menu > BLOCKS
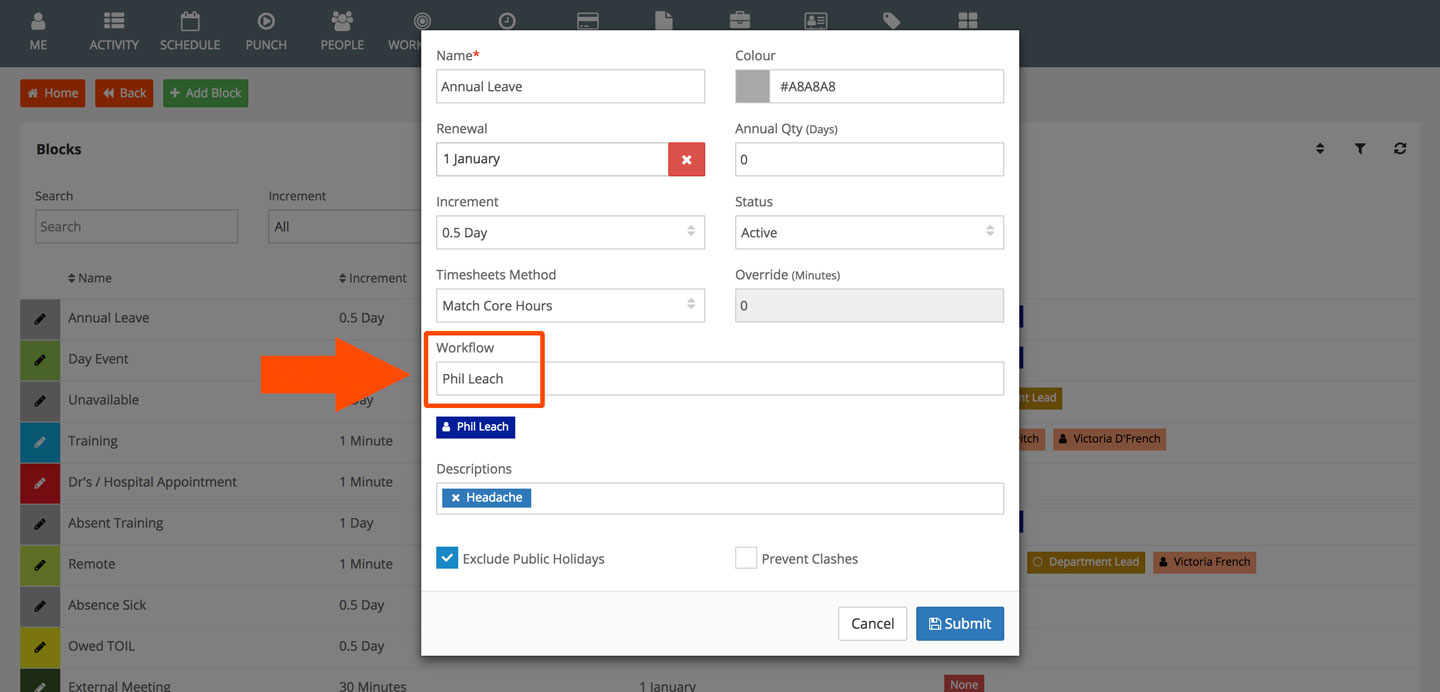
Select an existing Block by clicking on the pencil icon next to the Blocks name. Select the Workflow name and click Submit to save.

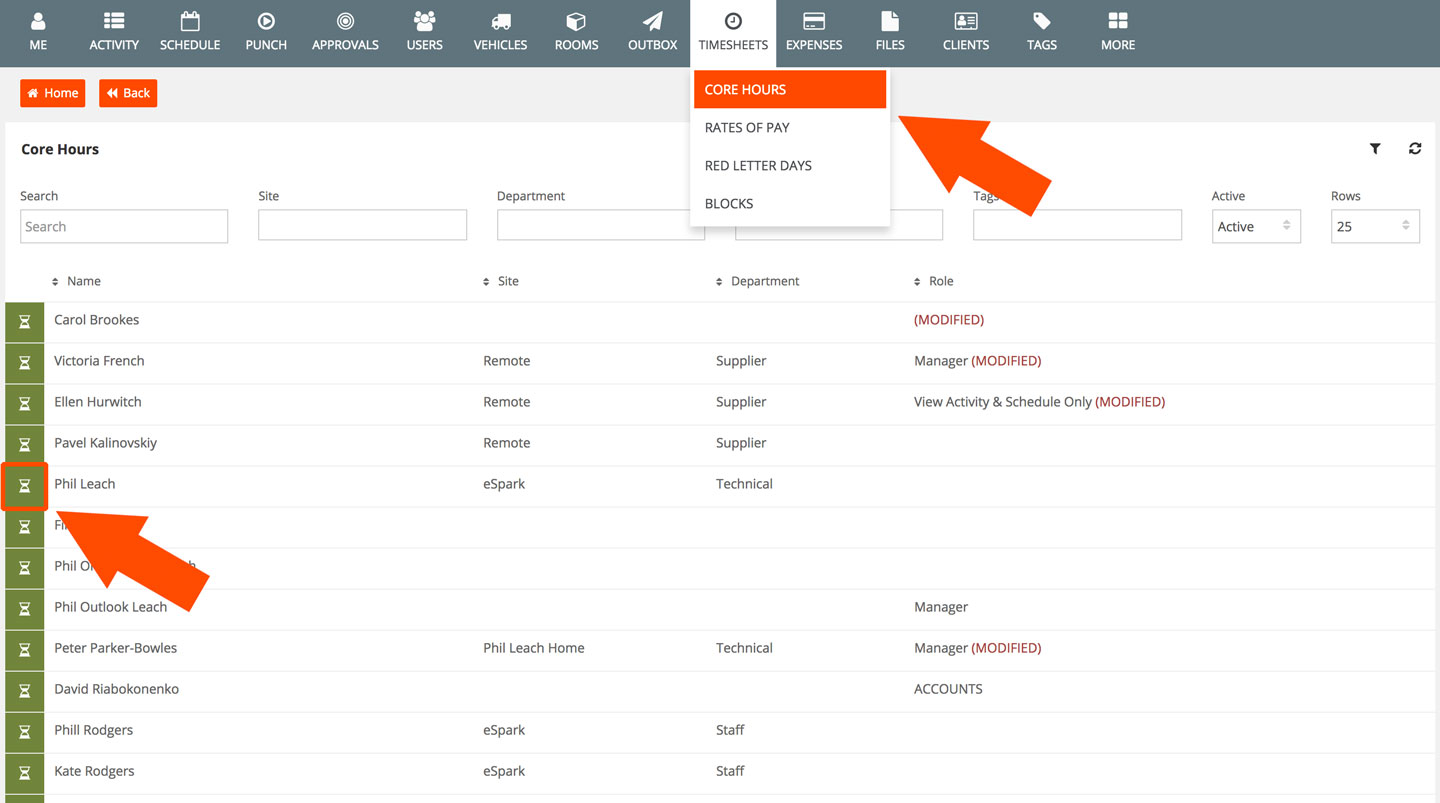
You can override the default approval per Person basis by hovering over TIMESHEETS in the navigation and select CORE HOURS. Edit a Person's core hours by clicking on the hourglass.
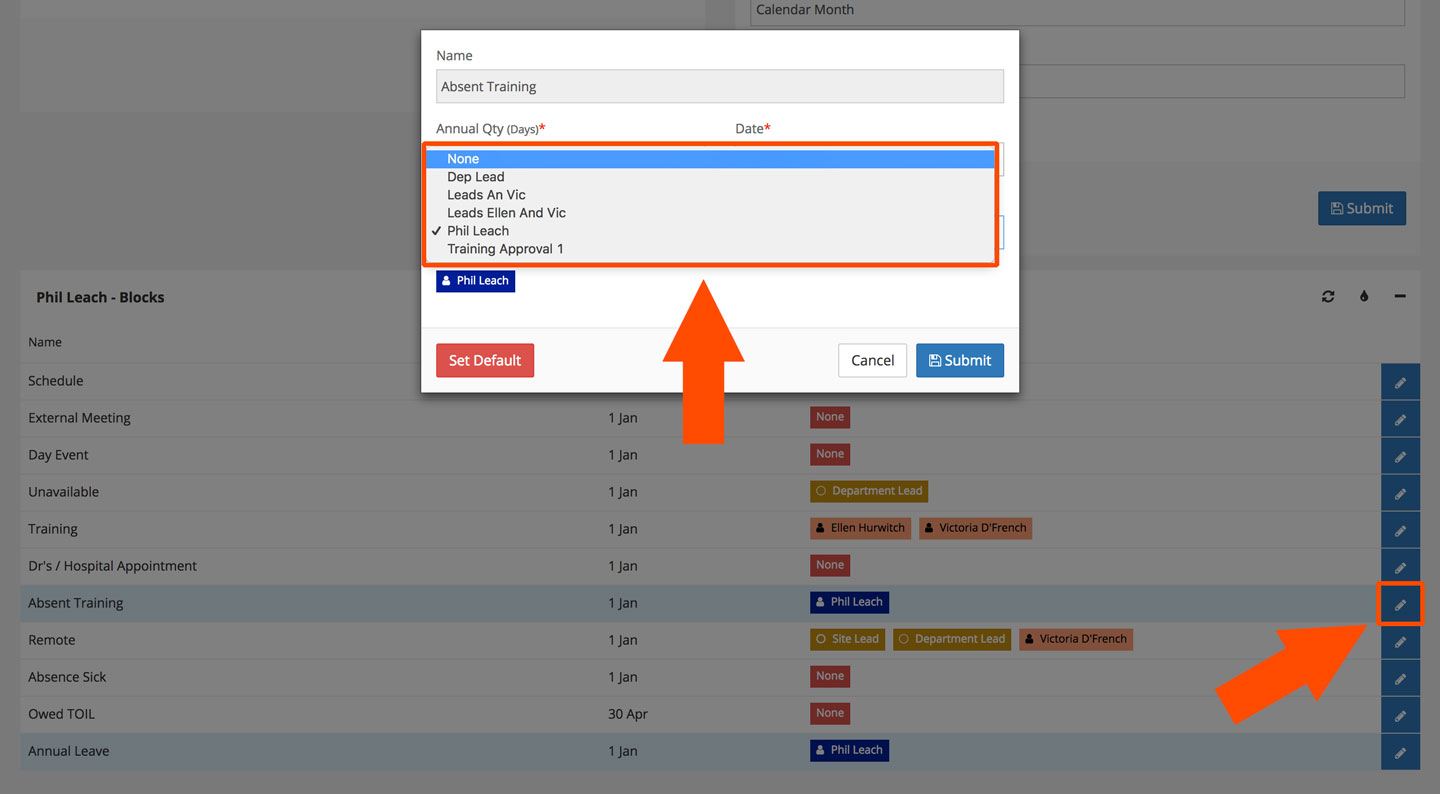
Click on the pencil icon to edit a block approval and change the approval accordingly.
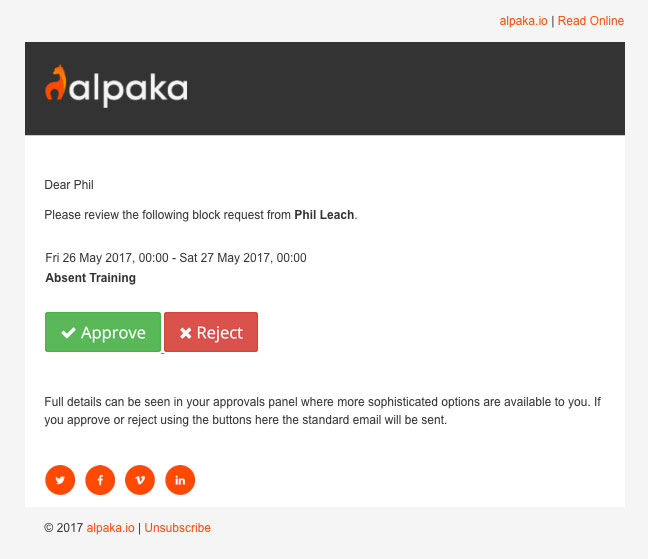
When an event that requires approval (based on the Request and Decision Emails were applied) an email like the below will be sent to the approver to either Approve or Reject the request.
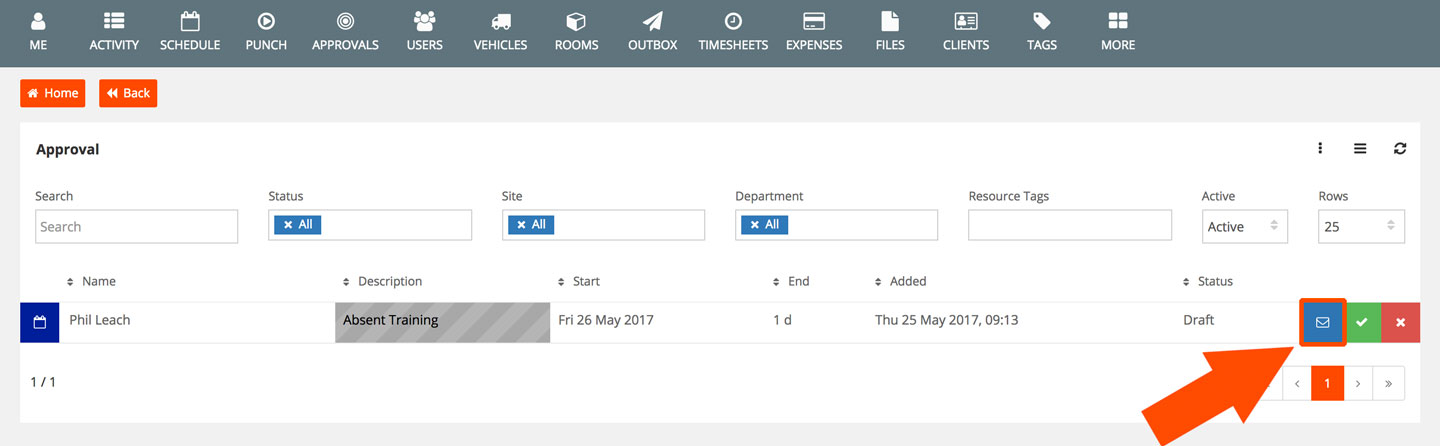
If you are the approver, you can view all of your approvals by hovering over ME in the navigation and click on MY APPROVALS.
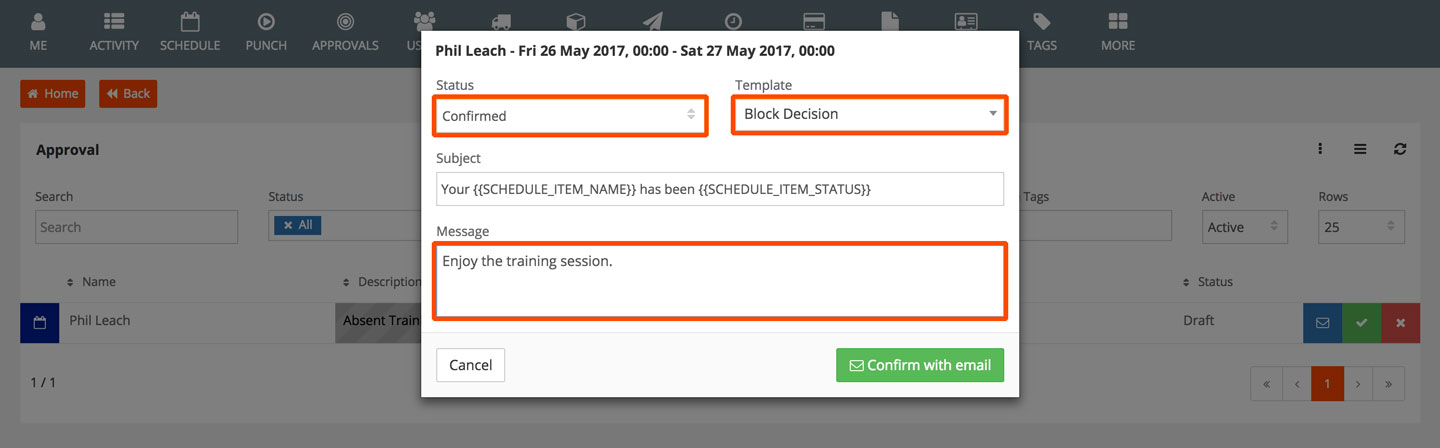
Within your approvals list you have the ability to confirm or reject the request by clicking on either the tick or cross or you can click on the mail icon to confirm/reject the request and send the requestor a message with reasons why the request was confirmed/rejected.
When clicking on the message icon alter the status to Confirmed/Rejected, choose an email template and enter a message to the Person.
The email received by the Person will appear as below.
