

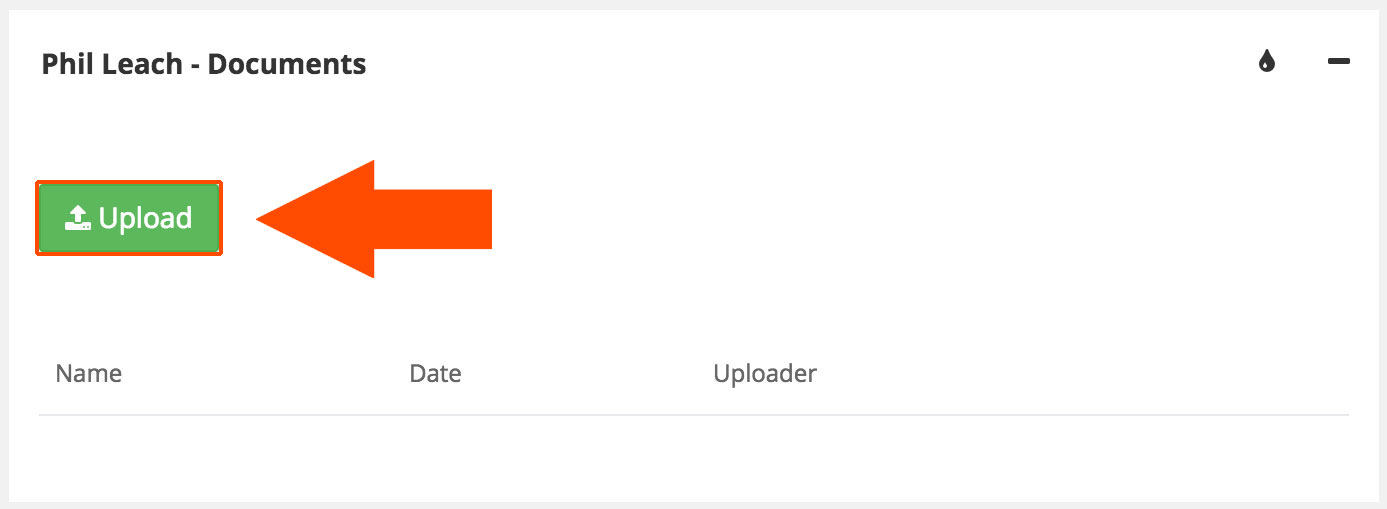
Assuming that you have the permission to upload documents, within the Team Members details page you will see a green 'Upload' button. If you see a blue folder in its place, then you do not have the permission to use the documents feature. Contact your Alpaka administrator or if you are the Alpaka manager/owner, please refer to the Team Member Permissions lesson which can be found here.
When clicking on the green 'Upload' button, you will be presented with an upload dialogue box. Find the file(s) on your computer that you wish to upload and click open.

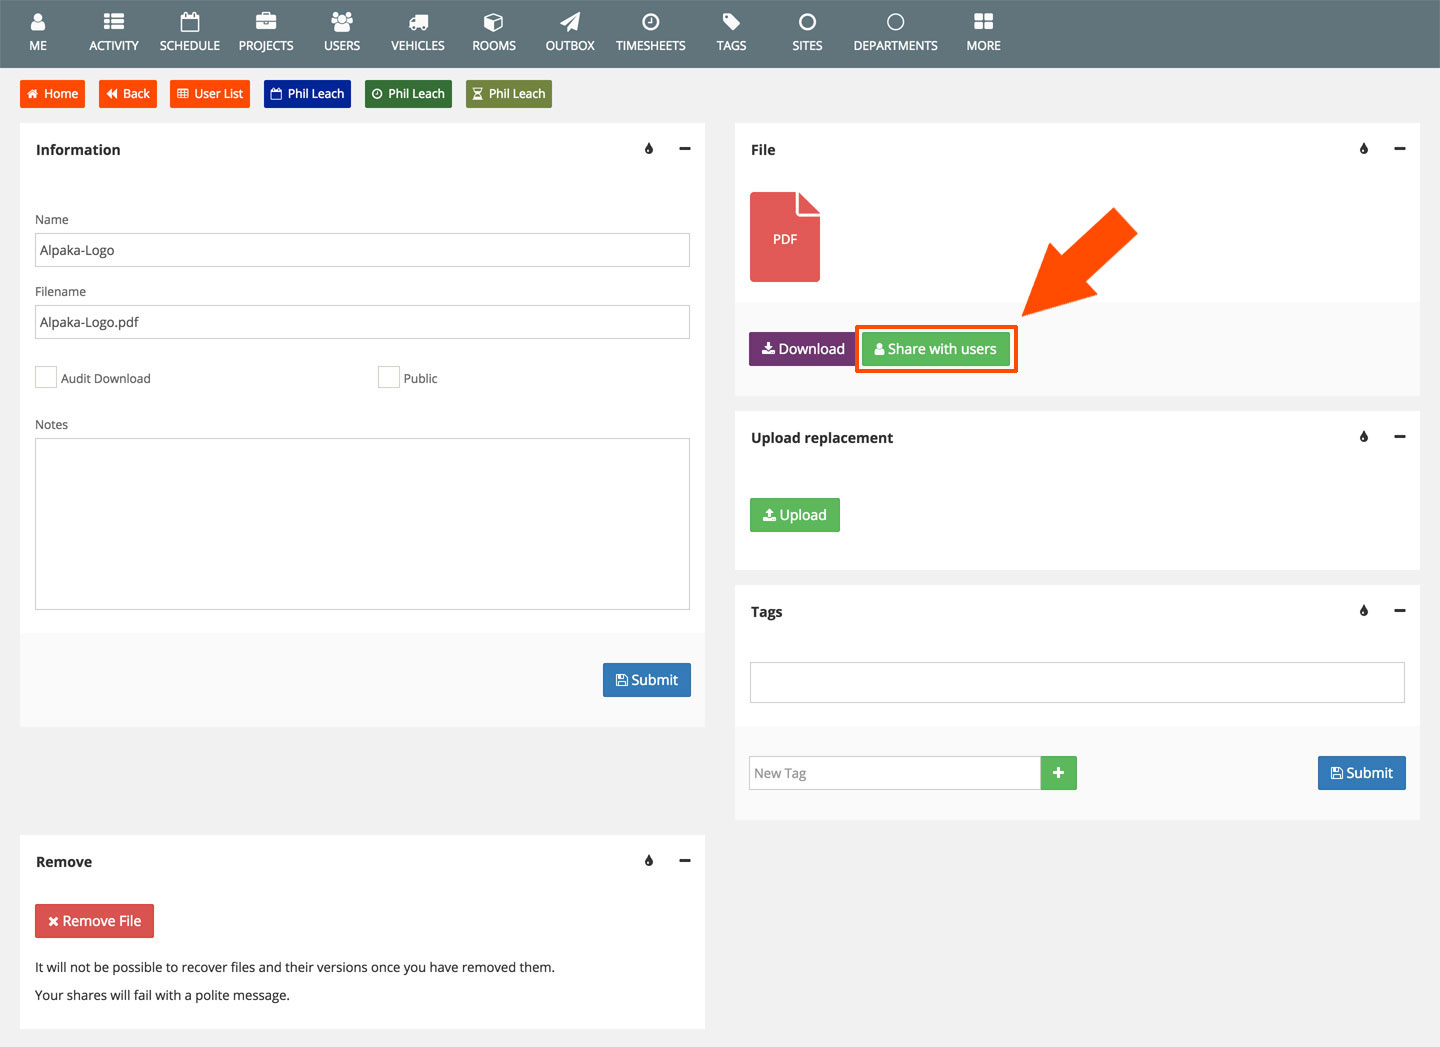
When the file(s) has been uploaded, it will appear in your list of documents. Here you can download the document by clicking on the green 'Download' icon or if you click on the blue 'Pencil' icon, you will enter the document properties and share pane.

In the document properties and share pane you can rename the document, download the document, upload a replacement for the document, tag the document or create a new tag for the document but we are going to look at the the document sharing pane in the next step by clicking on the 'Share with users' button.
In the document sharing pane you can give the campaign a name, pick an email template, change the email subject, enter an email message to accompany the document, action a date and time for the document to be sent and share the document to the following:
• Send to Team Members from these sites - These are all Team Members who are from a particular site they are assigned to in their details.
• Send to Team Members from these departments - These are all Team Members who are from a particular department they are assigned to in their details.
• Send to Team Members with these tags - Any users that are tagged, the document will be sent to them.
• Send to these users - These are individual Team Members.
All of these can be sent to multiple Team Members by selecting or searching them one by one, multiple sites, departments and multiple tags by selecting or searching them one by one.
When you have created your campaign to send the file to an individual(s) or groups of individuals based on sites, departments or tags, click on the green 'Submit' button to send the document.


Back in the document properties pane, at the bottom of the page you will see a Remove pane. Click on the red 'Remove File' button. You will be presented with a pop-up YES / NO to confirm if you want to permanently remove this document.
