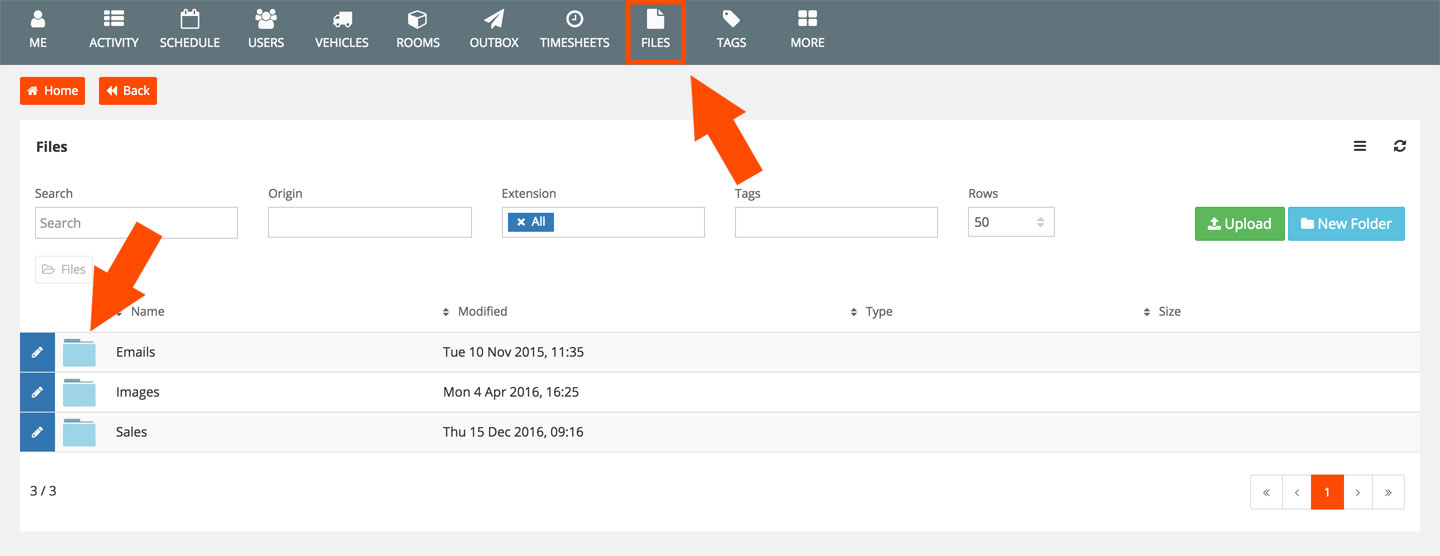
In your navigation > FILES and click on 'Emails'.
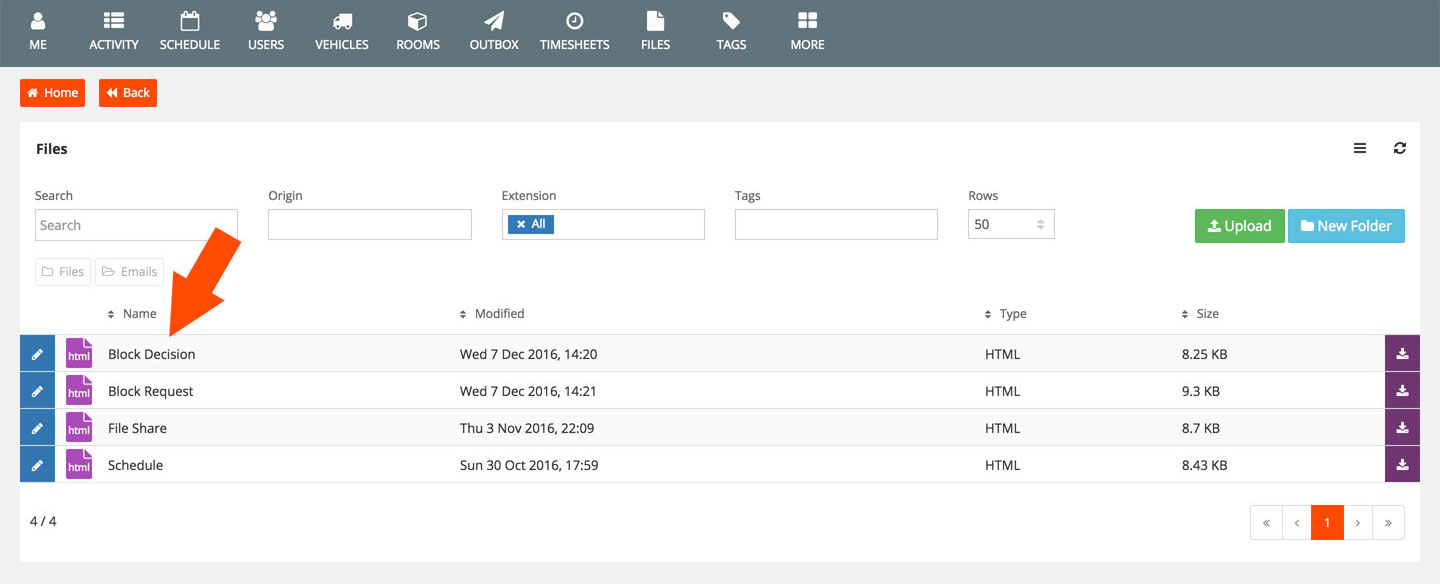
In this example we are going to look at Block Decisions. Click on 'Block Decision'.
When clicking on the file you will be presented with all of the properties of the email.
Information
Email Name: Is the name of the file.
Subject: Is the subject line of the email.
From (Name): Is the displayed sent from email name.
From (Email Address): Is the email address Alpaka will send the email from.
Reply (Email Address): Is the reply to email address. Enter this if you would like the reply to not to be from the email from email address that you have entered in the 'From: (Email Address)' field.
To (Override): If you would like the email to be replied not to the sender but to a specified email address.
CC (Email Address): CC is a 'Carbon Copy'. Enter an email address here if you would like a copy of the email of the decision sent to a specified address. The receiver of the email WILL see this email address CC'd into the decision email.
BCC (Email Address): BCC is a 'Blind Carbon Copy'. Enter an email address here if you would like a copy of the email of the decision sent to a specified address. The receiver of the email WILL NOT see this email address being BCC'd into the decision email.
Send Delay (s): You can specify how many seconds of delay for the email to be sent to the recipient. e.g. 1 day = 86400 seconds.
Search Google e.g. "1 hour in seconds" and Google will give you the answer.
Replace In Outbox (s): If you add a delay to outgoing emails, any decisions e.g. a request was rejected but in this time delay the approver changes their mind and decides to approve the request, the system will send the email with the last decision made within this time delay.
Outbox Gap (s): In this time delay, it will not make the email if the same email exists within the gap.
Add Held:
Record Opens: This will enable the recording how many times an email has been opened.
Record Clicks: This will enable the recording of link clicks within emails.

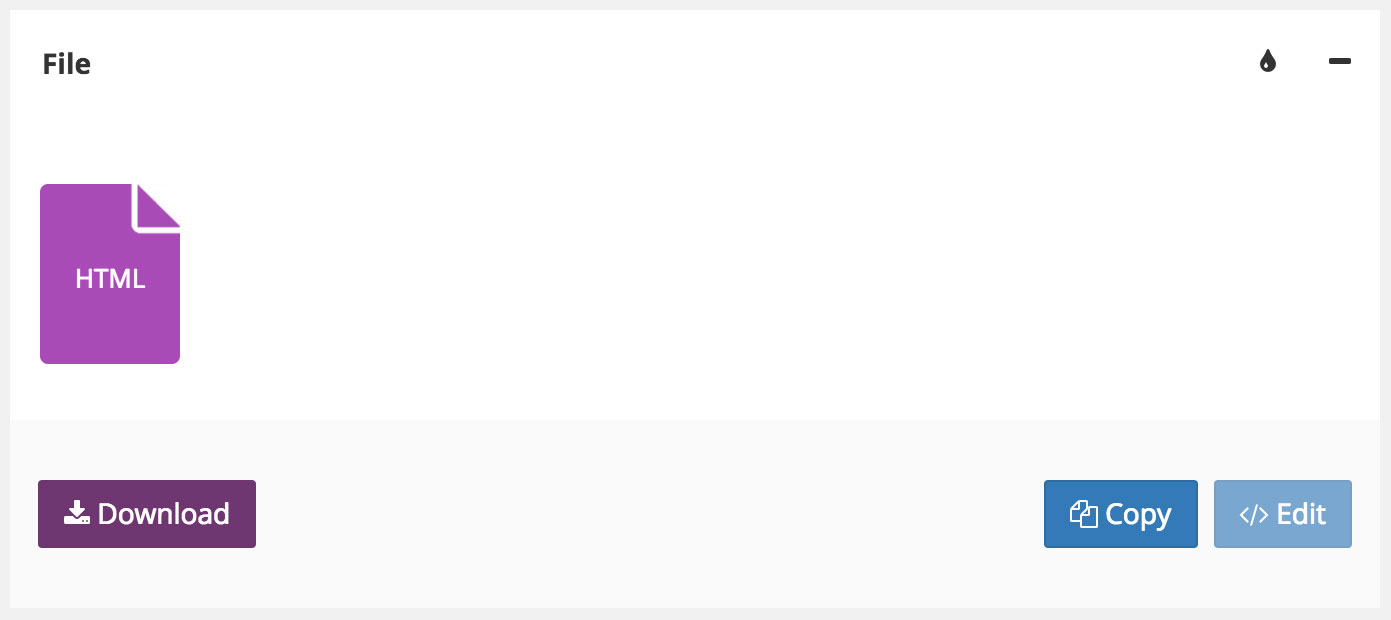
In the file pane you can download the current HTML email template (in case you want to edit it using 3rd party applications), copy it or choose to edit it with the inbuilt simple HTML editor (See further below in this lesson).
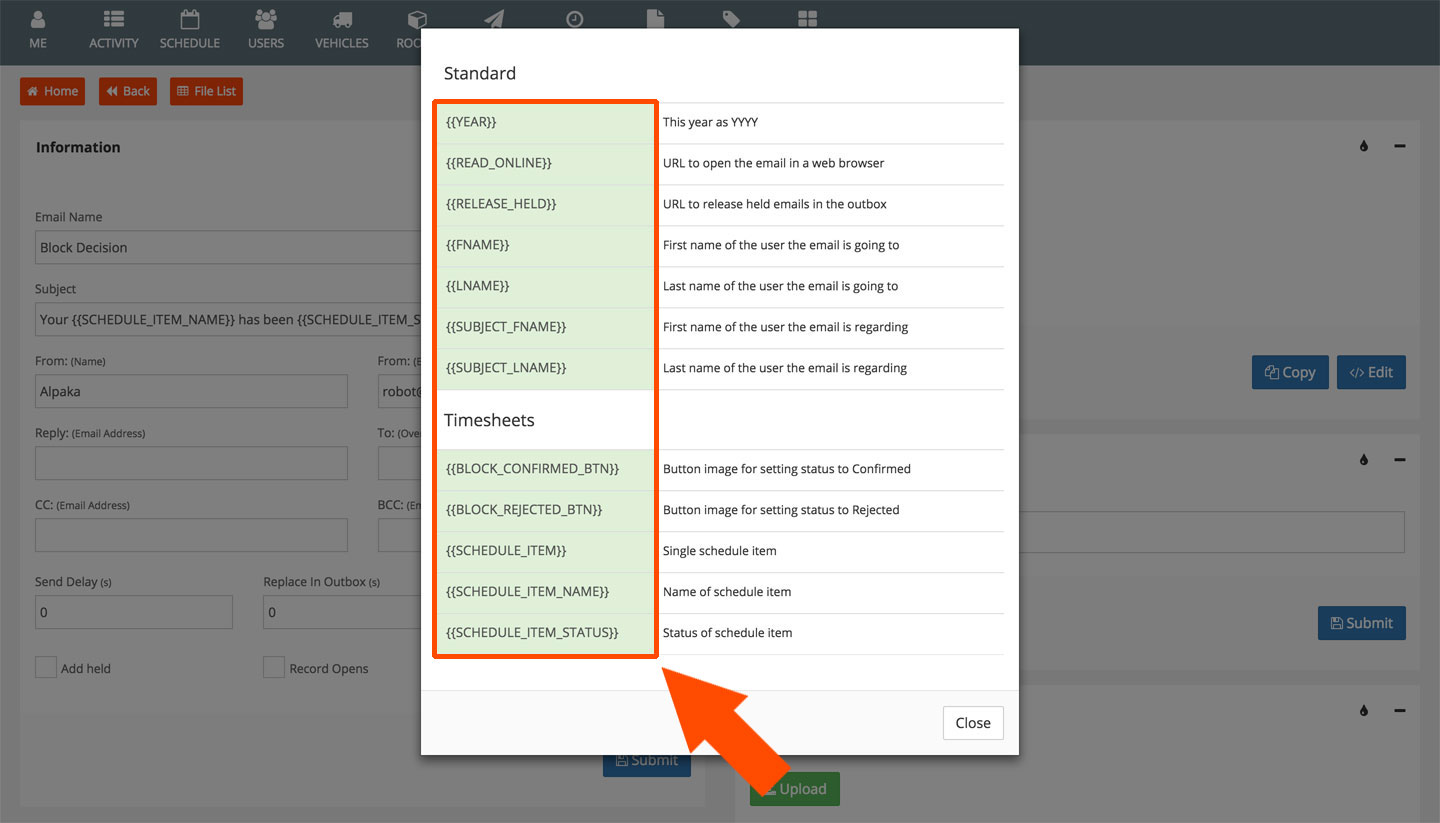
In the Usage pane you will see a button named ##{{VARIABLES}}. This will open the Variables pane which you can copy into the variable placeholders in areas such as the email subject line and the email template body. See below example in the Edit pane.
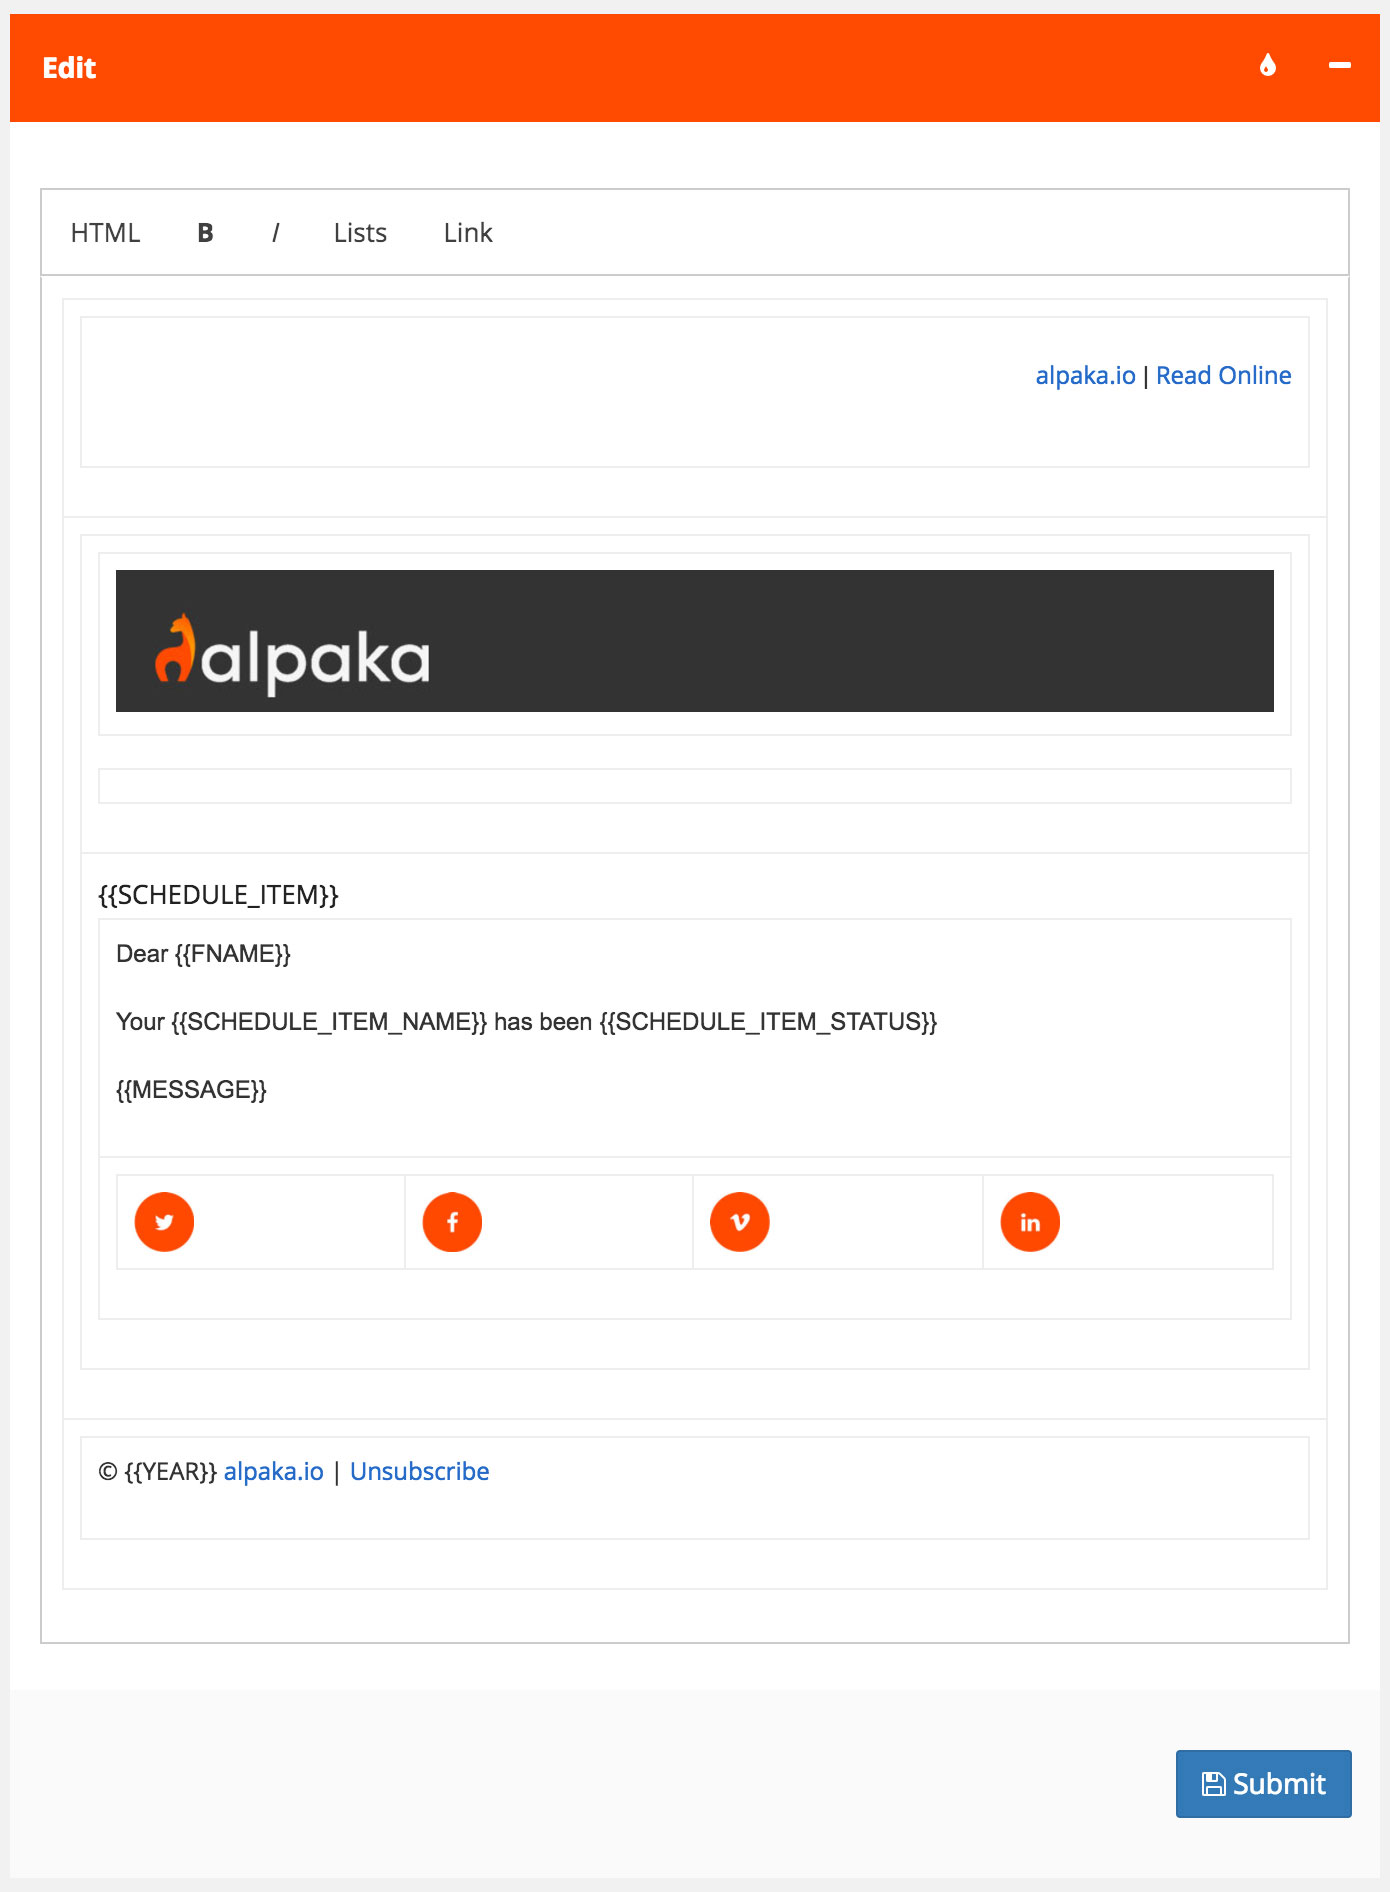
The Edit pane is a simple HTML editor you can use to create a customised email template that will be sent (in this example the decision of the request) to the recipient.
If you know HTML, you can paste your HTML code into the source by clicking on 'HTML' in the editor and paste the code there.
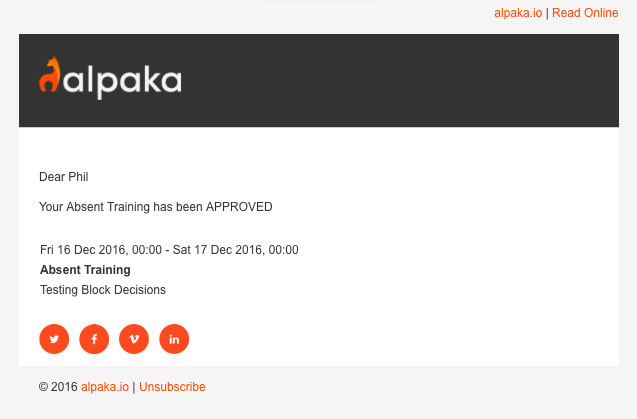
Here is an example of an email received by a user once the decision has been made by the contact to approve a event request.
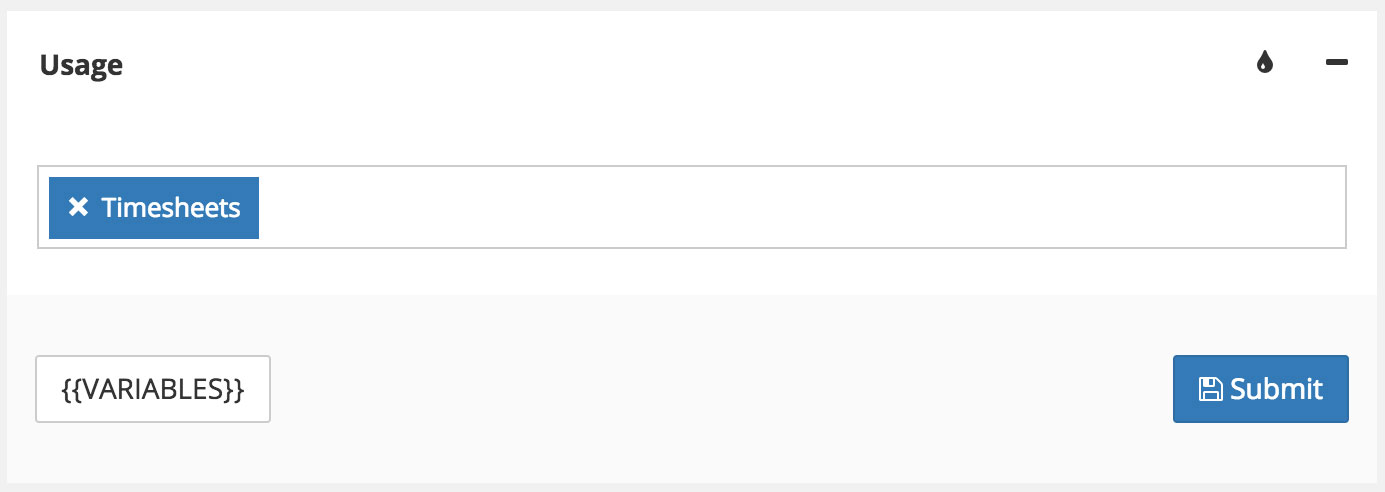
Any new email template you may create will need to be assigned 'Usage'. Usage is which area within Alpaka that the email template relates to. In this example it only relates to the TIMESHEETS section. Areas in Alpaka include FILES, SCHEDULE and TIMESHEETS.
Here you can upload a replacement HTML file for the email template.
This will replace the current email template. You may want to download the original file from the 'File' pane and keep a copy of it on your computer before you replace the original.

Here you can add any relevant notes to the template. End users will not see these notes.
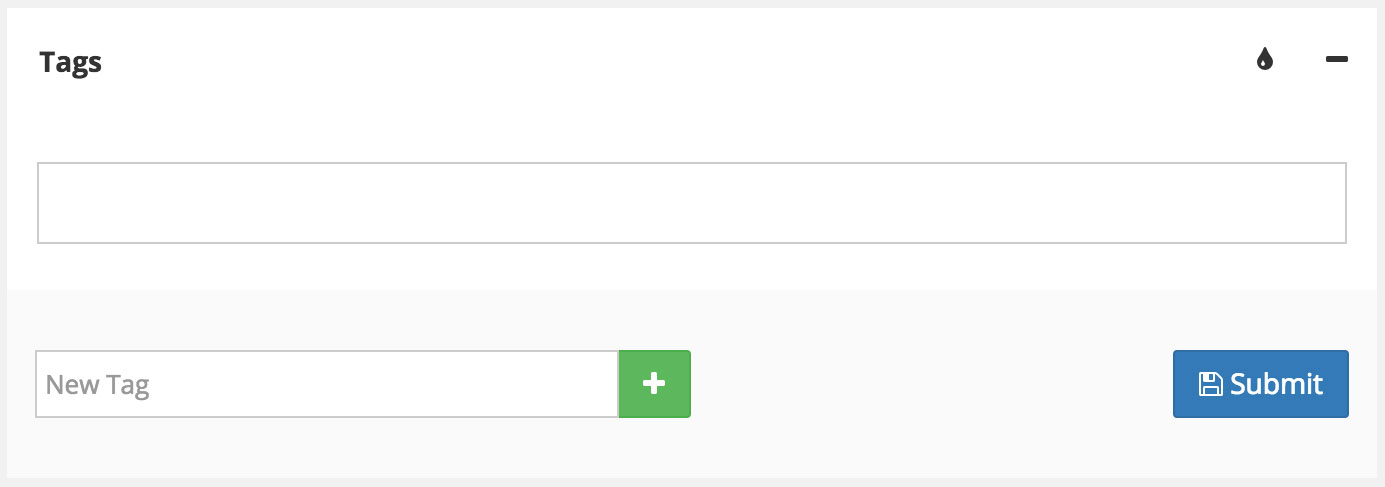
In the Tags pane you can apply an existing tag to the email template or create a new tag by giving it a name and clicking on the + icon to add the new tag. For more information on Tags please click here for the Tags section in the help guide.